Tuesday 12 November 2013

October Makes

 Edible flowers, icing covered and fully decorated cake. ~ Full Post HERE
(First attempt at covering, icing and handmade edible flowers.)
Male Kanban Car Card

First Painted Pumpkins ~ Full Post HERE


Custom Football Button Cross Ribbon Card

Stamped Note Paper / Insert

Friday 30 August 2013

Recent Makes (Cards and Bracelets)

RECENT BRACELETS

 
Silver Style, Beaded, Charity Style Bracelet.

 Silver Style, Beaded One Sided Elephant Bracelet.


RECENT CARDS
 (Different colours, styles and designs)


Saturday 25 May 2013

Creativity Strikes again (variety)


I'm really enjoying creating new things recently.
Baby Blue Button earrings and Bracelet 18/05/13
Silver Style Earrings - Consists of 3 buttons on each earring, 2 darker and 1 light.
Silver Style Bracelet - Consists of  4 sphere shaped buttons, 4 darker blue larger buttons and 4 white/light blue buttons to finish it off.
I didn't want them too overpowering or dark.

Soap Making 05/05/13
The weekend of the 5th of May, I decided to try soap making and throughly enjoyed it.
Orange Flowers - Rose Quartz Moisturising Glycerin Soap, Silver Glitter Accents and Colouring.
Blue Shells - Aquamarine Moisturising Glycerin Soap, Gold Shimmer Accents and Sun-Ripened Raspberry fragrance.
Brown Seahorse - Alabaster White Creamy Coconut Oil Soap and Grounded Coffee.

Beaded Gold Necklace 13/05/13
Gold Necklace - Consists of a simple gold chain with 7 gold effect beads to keep it simple and light. The deep red/maroon on the beads bring out the gold beautifully.

 Bright Bold Button Earrings 18/05/13
Button Earrings - Consists of 4 different sized a different colour buttons.
From largest to smallest - Red, Pink, Orange and Blue.
Striking bold stud earrings.

Saturday 11 May 2013

TUTORIAL: Masking, layering stamped images

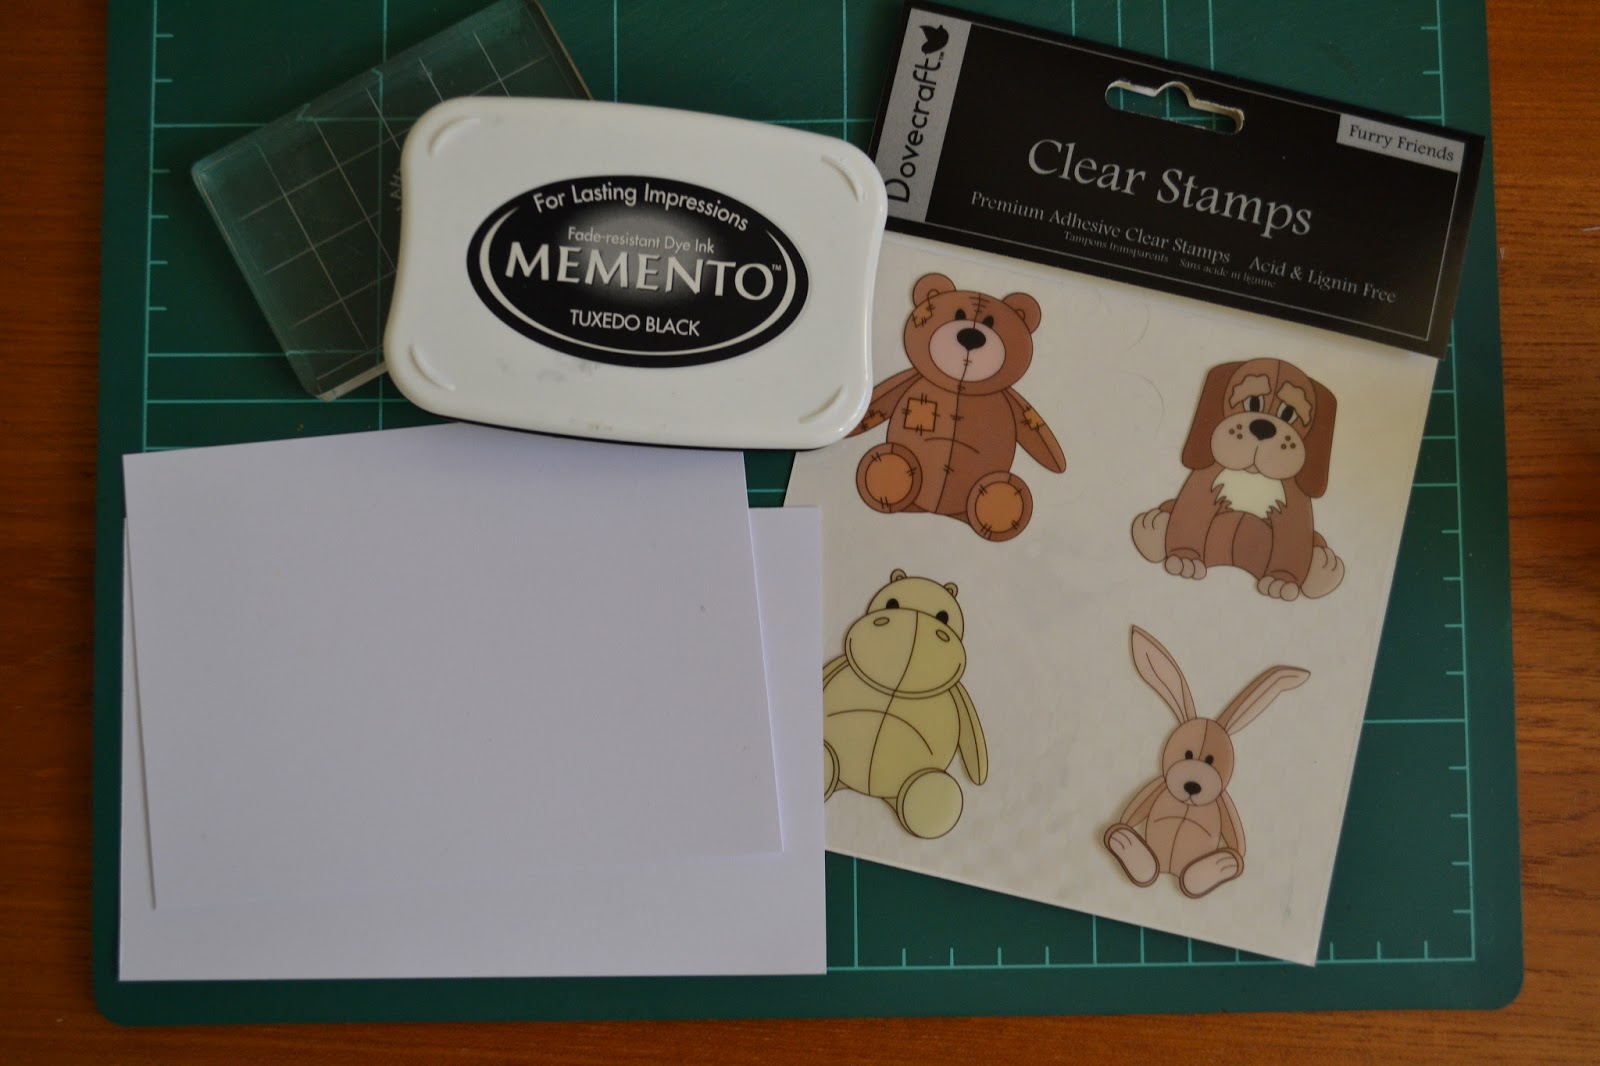
 STEP 1: Choose your selection of stamps, whether it be two, three, four etc different images you want placed in a scene.

You will also need: 
- an acrylic block (if your stamps aren't already mounted)
- 2 x plain card (if the colour of your choice) OR 1 x plain card and sticky notepads, if your stamps fit on the sticky notes.
- An ink pad (I used memento as I was going to colour my images with Promarkers afterwards)
- (optional) backing papers and matching colouring pens of your choice if you choose to colour your images.
 

 STEP 2: Have a scrap or small piece of card to fit your stamp then apply the ink to your stamp as you usually would; by turning your stamp upside down, applying the ink pad ontop and cover the image. 
OR 
You can stamp these onto sticky note pads but make sure you leave the sticky part on the back of your images.

 STEP 3: Press your stamp down firmly onto your piece of card /sticky note and stamp out one of each image.
It doesn't matter if these images are not perfect as long as you have the outline.
Whichever stamp you want to add last you will not need to stamp this one, if you are not sure of this stage it is best to stamp all images. If you are choose a main image and a background, you should only need to print out the main image.

 STEP 4: Cut out all of your images.

STEP 5: (optional) You can mark up your cut outs to make sure you know which are the scrap. But you can always keep these after you have used them if you are going to do this same method again.
 
STEP 6: Make sure you have a piece of card that will fit all your images on however you want them.
You can always get a piece of card that will be too big as you can always cut it down later.
Then stamp out the image you want in the foreground.

 STEP 7: Place your cut out image over the stamp image, make sure they are inlined correctly. 
You can use a piece of low tack glue onto the back of your images to hold this in place if you wish to but be careful if peeling it off, not to rip your image, if you used sticky notes then it should hold in place without glue.

 STEP 8: Ink up your next image, choose one that you want next to / behind the first image.

STEP 9: If you want to stamp an image the other side of the first image then leave the first on covered and stamp the opposite side.

STEP 10: Uncover and view your work to make sure it is correct.

STEP 11: Repeat by covering which image is relavent for the next one to be stamped.
 
STEP 12: Stamp the next image.

STEP 13: Your selection of images should be complete and you can uncover them all.

STEP 14: Cut around or down your piece of card with your selection of images on if you need or want to. 
Select your backing papers and colouring pens.

COMPLETE: There you have your layered images using a masking technique.

********

SAME TECHNIQUE - CREATING A BACKGROUND

There are many different designs and styles using this technique without adding bulk to your cards.
Enjoy!

Saturday 30 March 2013

Information and Introductory Offers

We are back with lots of new items in-stock and introductory prices.
Due to Facebook errors we have had to start a new Facebook page which you can find HERE! We would love it of you could join us over on our new page and if you 'like' what you see then feel free to like our page - to keep up to date with new items, offers and information.

Our first ever craft stall was at a small community fair and we would like to attend more of them so feel free to contact us and let us know of any craft fairs in the UK.

We have recently moved into a larger house and hopefully we can provide a bigger and better service to our followers and customers from here. 
 
NEW! 
 CARDS

WINE GLASS CHARMS
 

BLUE NECKLACE SETS

NOVELTY BUTTON EARRINGS

Sunday 20 January 2013

First Earrings and Glasses


Thank you everyone for following me it is great to have your support, whether it be through Facebook, Twitter, my blog or somewhere else. It is truly great to have you here and I apologise for the absents, I hope to put more time and effort into the company and have lots to come.

My recent creations are my first sets of earrings as shown above - currently ordering some more supplies to create new and different designs for you all, with more jewellery to come.
Painted glasses including motifs for that special someone and company logos.